A leaky tap is more than just an annoyance, it’s also a sure-fire way to run up costly bills and waste precious water. And if you don’t get it fixed early enough, that irritating drip can soon escalate and cause significant property damage.
That’s why it’s best to tackle the issue straight away so you can avoid it getting worse and spot any more serious issues that might be lurking behind the leak.
Luckily, fixing a leaking tap is straightforward once you know what you’re doing. That’s why we’ve put together this handy guide to help you ditch that drip.
First Things First – Identify Your Taps
Before you get started, you need to identify what sort of tap you are trying to repair as the process will differ slightly for each one. Older, traditional taps (taps that continue to twist around and around) work by compressing a rubber washer and ‘O-ring.’ Over time, these parts can deteriorate and then cause that annoying leak. A simple replacement is often the solution in these cases.
However, most of us will be using modern ceramic disk taps in our home. If you can’t turn your taps more than a quarter of half turn (or it’s single-lever mixer tap) then it’s more than likely a ceramic disk. Unfortunately, this will mean that you will need to acquire the specific replacement cartridge before you can fix the leak.
Tip: Before you start, it’s also worth descaling the tap if necessary and using a little WD-40 so that repair goes that bit smoother.
Identify where the water is coming from.
Looking at where the water is leaking from is also a handy way of anticipating which repair needs to be made. If the water is dripping from the spout then this indicates that you need to replace the relevant washer (either ceramic or rubber).
If the water is leaking from below the handle on a tradition tap, it’s more than likely you’re going to need a new valve O-ring. Or you could be looking at replacing the spout O-ring if the water is coming from beneath the spout.
What you’ll need to make the repair
Make sure you have the following items to hand before you start. There’s nothing worse than having to dash off and find something when you’re in the middle of the job:
• An adjustable spanner
• Scissors
• The replacement cartridge for your model of tab / various washers and O rings
• Flathead and cross-head screwdrivers.
Step 1: Turn off your water supply.
Turn off your water supply by switching off the hot and cold isolation valves that are located underneath your sink. This will temporarily turn the water off for only that location whilst you carry out the repair. If your sink does not use an isolation valve, you will need to turn off the main water supply instead. You can do this by locating your house’s stopcock.
Once the water is switched off, run the tap to get rid of any remaining water in the pipes. Once the tap runs dry, insert the plug into the sink. This will prevent you from accidentally losing any small parts once you start to dismantle the tap.
Step 2: Locate the screw
To begin dismantling the tap, you are going to need to find the screws that are holding it together. These can usually be found underneath the caps which display the hot and cold symbols on top of the taps. These can often be unscrewed by hand without the use of tools or else you can pop them off by carefully using a flathead screwdriver.
Screws on single-lever mixer taps are usually found beneath the hot and cold gauge.
Tip: Use a soft cloth to protect your taps from being scratched by your tools.
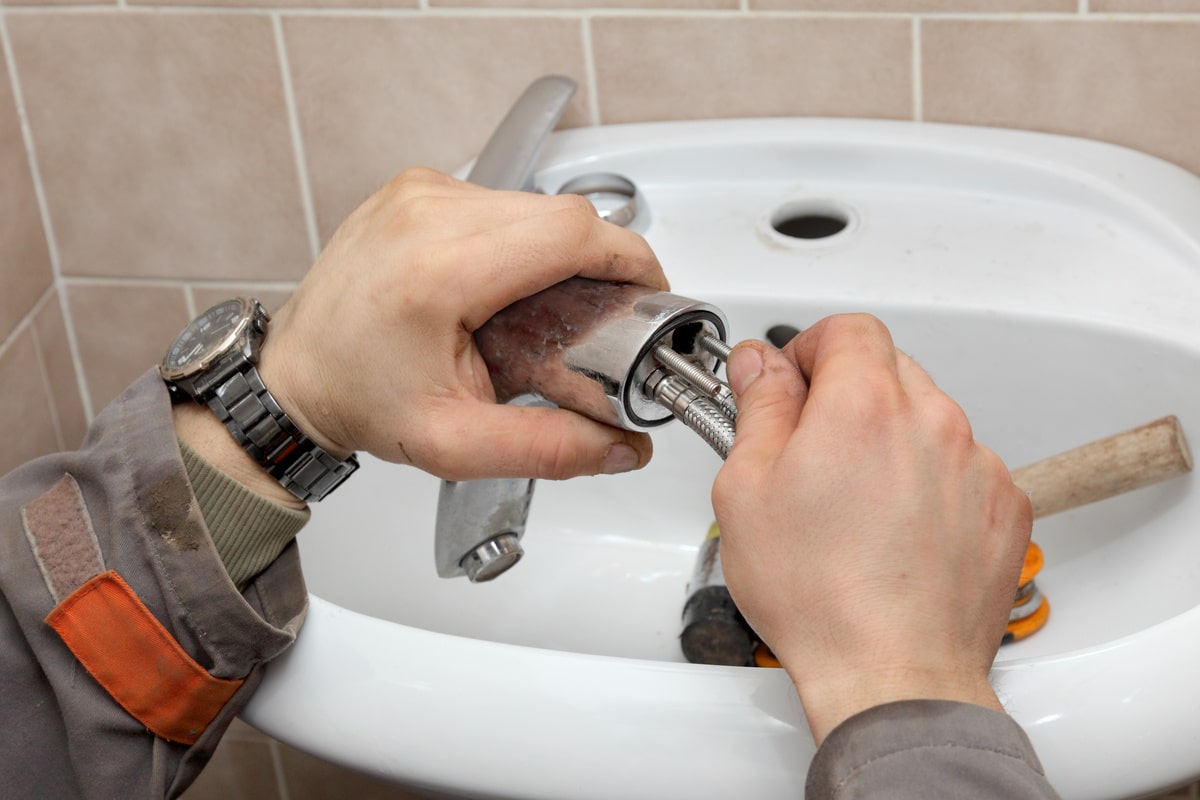
Step 3: Dismantle the tap
After you’ve removed the caps, unfasten the screws and remove the tap’s head. Place them nearby in the same order that you removed them in order to make the reassembly process easier.
There could also be a further protective metal cover around the neck of the tap which will also need removing.
At this point, the next step is going to be different according to the type of tap you have and the specific repair that needs to be made.
Step 4(a): If you are replacing a ceramic cartridge
Grip the cartridge underneath the metal cover with your spanner. Turn it slowly and remove with care. Insert the new cartridge and tighten it into place. And that’s it, you’re done!
Step 4(b): If you are replacing a rubber washer
Remove the valve carefully with the spanner. Slide the old rubber wash off (by unscrewing the nut holding it in place if necessary) and replace with the new washer. Put the valve back in and tighten everything back to how it was.
Step 4(C): If you are replacing an O-ring
Again, you are going to need to remove the valve carefully with a spanner. You will be able to locate the rubber O-ring at the bottom of the valve. You can either loosen the O-ring with the flat-head screwdriver or you can simply use the scissors to cut it off. Then all you need to do is roll the replacement O-ring into place and put the valve back.
If the spout O-ring needs replacing then you will need to remove the grub screw at the base of the spout and carefully lift the spout off before following the same procedure as above.
Step 5: Check the valve seating and reassemble.
When you have made the relevant replacement it’s a good idea to then check the valve seat (the bit that connects the tap and spout together). If this section looks like it has started to corrode then you might still have issues with the leak. You can try to clean off any excess minerals but you may need to replace the valve completely if it has degraded too much. Then all you need to do is reverse the steps above and enjoy being leak free!
If your leak does persist then please feel free to ask one of our qualified plumbers by giving us a call on 01273 701237